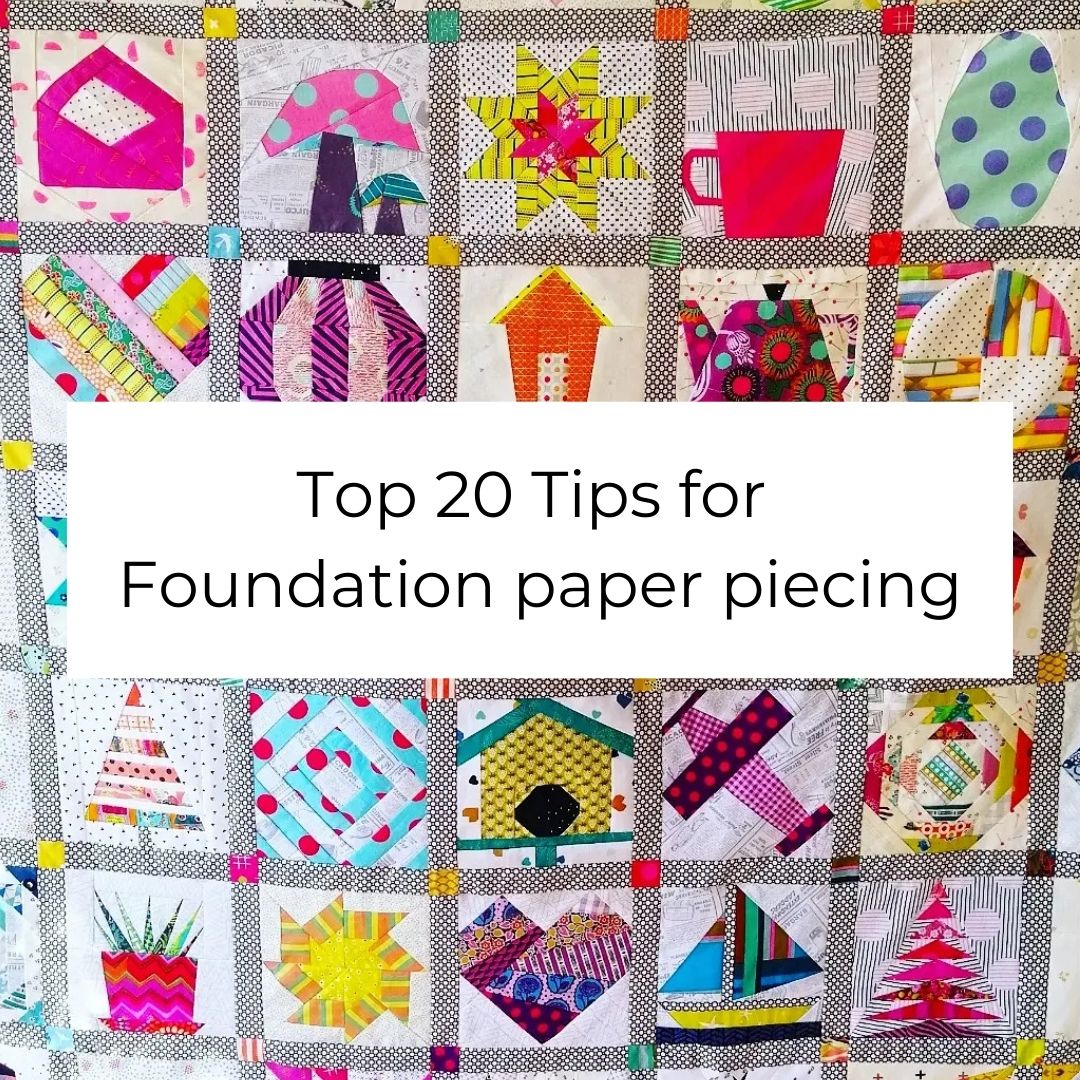
Top 20 Tips for Foundation Paper Piecing
Foundation paper piecing (FPP) is a quilting technique that allows for incredibly precise and intricate designs. While it can feel a bit tricky at first, mastering FPP opens up a world of creative possibilities. If you're just getting started, here are 20 tips to help you build confidence and achieve beautiful results.
Foundation Paper Piecing patterns can be purchased here.

1. Understand the Basics
Before diving in, familiarise yourself with the concept of foundation paper piecing. In FPP, fabric pieces are sewn directly onto a paper pattern. You’ll stitch on the printed lines and trim away excess fabric to create clean, precise shapes.
2. Print all templates at Actual or 100%
Print all templates at Actual or 100% unless you are intentionally trying to rescale the size of the block. Use the 1 inch test square on the printed pattern to check that your template has been printed at the right size.
I once found that my printer was not printing templates at the right size even though the setting was at 100%. It was only slightly inaccurate by about 1/16th of an inch but was still a problem. Through some Googling, I discovered the default Window’s printer driver on my computer that was the problem. I had to download and install my own printer’s driver. Just telling you this story in case you have this problem.
3. You don’t need a lot of tools to get started
Apart from a printer to print your templates and your general sewing supplies, you don’t need a lot of tools to foundation paper piece. Some might suggest, you need a quarter inch ruler. This is useful but not essential. I just use scissors to trim away excess fabric while I am working on a section and approximate a quarter inch (as this does not need to be accurate) and then use a rotary cutter when trimming sections to be joined.
You may want to have a rotary cutter just for paper so as not to dull your rotary blade too quickly.
Foundation Paper Piecing patterns can be purchased here.
4. Use a piece of card to fold the paper
Use a piece of card, something like a bookmark or postcard for folding along a seam line before you trim away the excess fabric.

5. Start Simple
Choose a beginner-friendly pattern with one section and straightforward shapes. Avoid designs with tiny pieces or sharp angles until you feel more confident.
6. Choose the Right Paper
Using lightweight paper, such as newsprint or speciality foundation paper will make tearing away paper easier. It you want to save money, cheap print paper is fine to use. I repurpose used copy paper and print on the back of it. The thinner the paper the easier it is to tear but regular print paper is fine.
7. Shorten Your Stitch Length
Set your sewing machine to a shorter stitch length (I use 1.5). This makes it easier to remove the paper later and ensures the seams are secure. Just like in regular patchwork piecing, I don’t backstitch when I start and stop sewing. Your stitches will be secured in place when a seam intersects with it.
8. Label Each Section
Before you start sewing, mark your printed template with the corresponding fabric colours or fabric placement. This helps avoid confusion, especially with intricate designs.
9. Cut Fabric Generously
Cut fabric pieces slightly larger than the section they’ll cover. This gives you wiggle room for positioning and avoids frustration from pieces being too small.
For repeat pieces, make plastic or card templates for cutting out the fabric but add on at least a half inch all the way around the the template to cover the seam allowance and to allow for wiggle room.
I usually don’t precut my fabric pieces. Most of the time, I grab a large scrap or cut off a piece from yardage and use that to sew and then cut away the excess and continue using this piece. This way, I am saving time from cutting my fabrics to size and I often don’t have to worry about my fabric not being big enough.
10. Use Glue or a Pin for Positioning
A small glue stick or pin can help hold the first piece of fabric in place on the back of your paper.
11. Practise the Flip-and-Check Method
Before sewing, fold the paper template along the seam line and check that the fabric underneath it completely covers the intended section. (See next tip) Adjust as needed.
Foundation Paper Piecing patterns can be purchased here.
12. How to deal with angles
Working with angles when foundation paper piecing is one of the big frustrations. There is a trick to working out if the fabric you have underneath covers the intended section.
First fold along the seam line. In the image below, I am attaching the E3 piece.

While the E3 section is folded down, line up your next piece of fabric and check that this fabric completely lies underneath the E3 section with enough to cover the seam allowance as well. You may need to hold it up into the light to see the fabric underneath. Adjust as needed. Some people may advocate for a lightbox for this step but I am not into buying lots of notions and work just fine without it!

13. Chain Piece When Possible
If your pattern has multiple identical sections, sew them assembly-line style to save time and stay consistent. I have seen this done effectively with New York Beauty blocks with the repeated spikes.
14. Press Seams as You Go
After sewing each piece, press the seam with an iron or a finger presser. This keeps the block flat and helps maintain accuracy. You might like to have a pressing roller or pressing mat and mini iron next you while sewing. I am quite a minimalist and don’t like to have lots of extra tools and just finger press.
After I complete all my sections in a block, I use a hot iron to press the sections and trim them before joining the sections to complete the block.
15. Remove Paper Strategically
Tear away the paper only after the entire block is assembled. Work slowly to avoid pulling on the stitches. You may like to spray starch your block if the edges are vulnerable to stretching. This is often the case if you have biased fabric edges.
Using tweezers will help remove paper from hard to reach places.
Dampening the paper with a spray bottle will also help tear the paper more easily.
16. Practise on Scraps
Use fabric scraps to practise stitching, flipping, and trimming. This helps you build muscle memory without worrying about mistakes. See the free Crazy Patchwork block below for practising FPP.
17. Repair Paper that Tears Too Soon
Sometimes you may sew the wrong fabric to the wrong section or find that your fabric piece does not cover the intended area. This often means you will have to rip out a seam which may tear the paper prematurely. If this happens, use a small piece of paper based tape to repair it, something like washi tape.
18. Reversed Designs
Because you sew on the back of the paper, foundation paper piecing templates should be printed with the design mirrored (reversed). This is so that your block will come out the right orientation. Thimbles and Needles FPP patterns are all mirrored and can be printed as is.
Check the pattern you are using, to see if you need to print the template reversed. If the design is symmetrical, it does not matter if it is mirrored or not.
If is not symmetrical, then it will matter.
If the template is not mirrored and not symmetrical, you will need to print your template in the reverse/backwards. You will need to adjust your printer settings for this. Each printer is different, so you may need to Google your printer model if you can’t find this setting easily. This is why I make my templates mirrored!
To give you an example:

These letters are symmetrical and it does not matter if the template is mirrored or not. The sewn block will look the same as the printed template.
The following letters are not symmetrical, so if the template is not mirrored, your sewn block will be backwards.


19. Utilise free online resources and tutorials
Producing video tutorials is not my forte, but there are loads of foundation paper piecing tutorials available, especially on You Tube.
20. Practise, Practise, Practise
The only way to get better at foundation paper piecing is to practise and learn from your mistakes.
FPP is a great skill to have in your quilting tool kit even if it is not your favourite method and don’t intend to use it very often.

Foundation Paper Piecing patterns can be purchased here.
You may like to read about the
Pros and Cons of Foundation Paper Piecing
Foundation Paper Pieced String Blocks
Foundation Paper Pieced Quilt Borders
You may also like to read about these foundation paper pieced samplers.