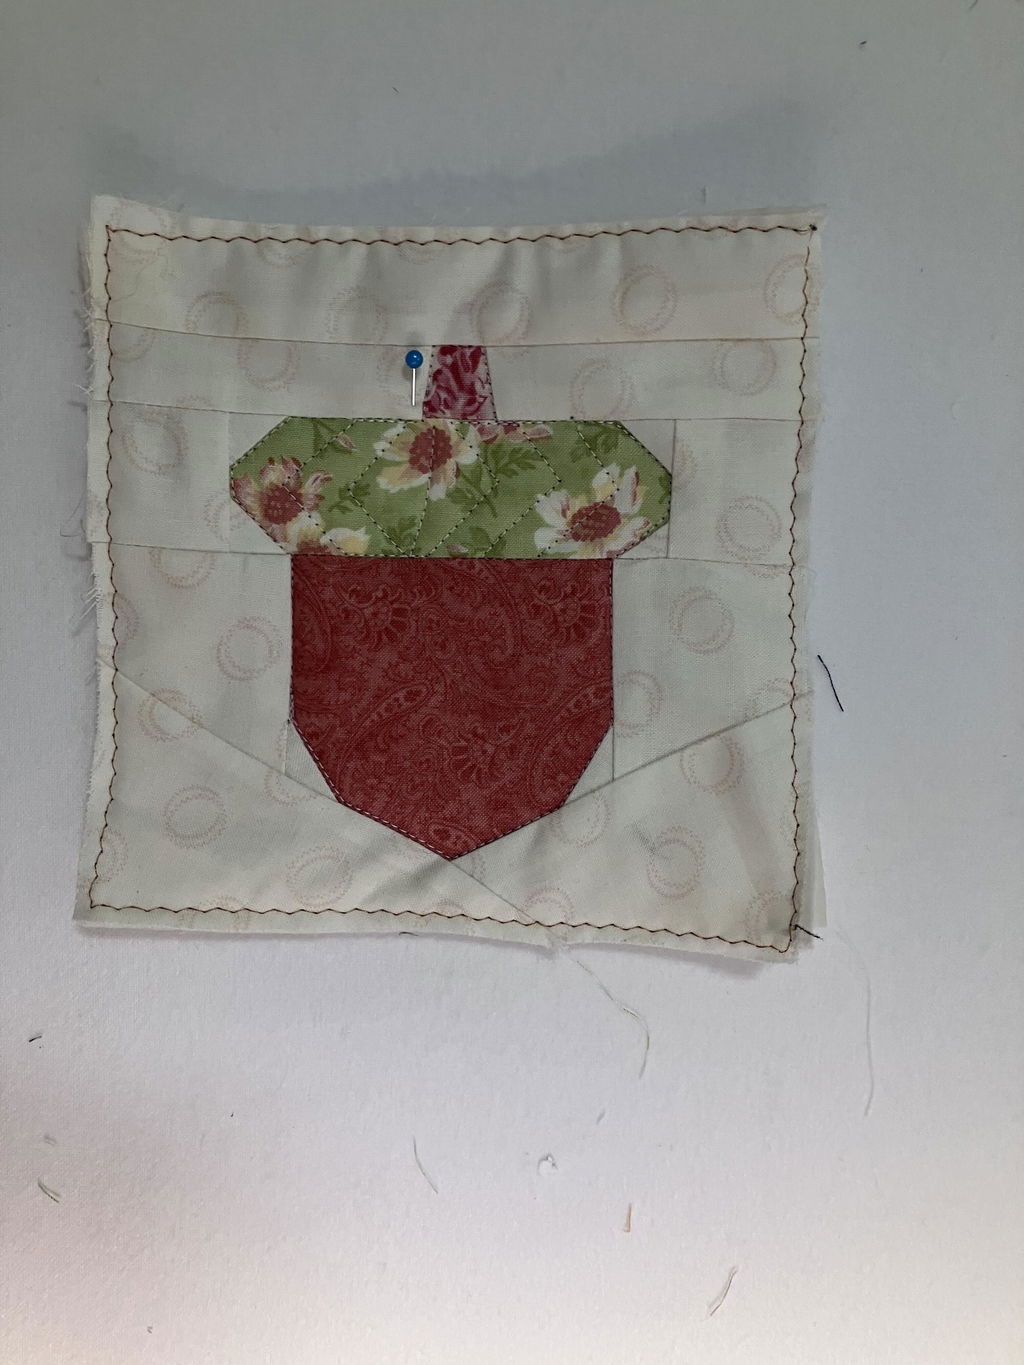

How to Remove Paper from Foundation Paper Piecing
Once you have finished sewing a foundation paper pieced block, there is one final job to tackle: removing the paper. It can feel a little tedious, particularly when a design contains small pieces, but the right preparation and technique make it much easier.
In this guide, I’ll explain when to remove the foundation paper, the best order to work in and how to avoid pulling or loosening your stitches.

The quick answer
Remove the foundation paper after the block or individual sections have been completed, trimmed and securely joined where required. Fold the paper firmly along each stitched line, then gently tear it away while supporting the stitches with your other hand.
Start with the larger outer pieces or the highest-numbered sections and work towards the smaller pieces. Tweezers can help remove any paper caught beneath short seams or in corners.

When should you remove the paper from FPP blocks?
Keep the foundation paper attached while you sew and trim each section. The paper helps stabilise the fabric and keeps the block accurate.
If your pattern contains several separate sections, it is generally best to leave the paper in place while joining those sections. Once the complete block has been assembled and trimmed to the correct unfinished size, you can remove it.
Another possibility is to remove only the paper in the seam allowances before joining sections together. The benefit for this is that it reduces tiny bits of paper getting caught up at the seam intersections. I personally leave it all on until all sections are joined.
Some quilters prefer to leave the paper attached until several blocks have been joined because it helps them match points and maintain accurate block sizes.
Others remove it from each completed block before assembling the quilt. I personally remove the paper from each block before joining blocks together.
Both methods can work. The important points are:
- Do not remove the paper before the section has been completed and trimmed.
- Make sure any sections that rely on the foundation for alignment have been joined.
Use a shorter stitch length
Paper is much easier to remove when it has been thoroughly perforated by the sewing machine needle.
A stitch length of approximately 1.5 to 1.8 mm works well for most foundation paper piecing. The ideal setting can vary slightly according to your machine and the paper you are using, so test it before beginning a larger project.
If your stitches are too long, the paper will be more difficult to tear and the seams may pull apart as you remove it. Very tiny stitches can make mistakes difficult to unpick, so there is no need to reduce the stitch length more than necessary.
How to remove foundation paper step by step
1. Allow the block to cool
If you have just pressed the block, allow it to cool before removing the paper. This gives the seams a chance to settle and makes the block easier to handle without stretching it.
2. Support the stitches
Place one finger close to the seam while you tear the paper away with your other hand. This prevents the fabric and stitches from being pulled or distorted.
Tear the paper back against itself rather than pulling it directly upwards from the block.
3. Begin with the easiest pieces
Start with the large outer pieces which are often the easiest to reach. Continue removing pieces gradually, working towards smaller internal areas.
Removing the paper in roughly the reverse order in which the block was sewn can make the process easier.

5. Remove small pieces carefully
Use fine-point tweezers to remove paper caught in corners, beneath short seams or around dense intersections.
Hold the fabric flat and pull the paper gently. Avoid digging at the block with the tweezers, as this can catch the fabric or stitches.

6. Press the block again
Once the paper has been removed, press the block from the front and back. Avoid moving the iron backwards and forwards, as this can distort the block. Place the iron down, lift it and reposition it as needed.

Useful tools for removing foundation paper
You do not need special equipment, but these tools can make the job faster:
-
Fine-point tweezers for corners and small paper fragments
- A blunt-ended stiletto for lifting paper edges
- A cotton bud for cautiously dampening stubborn areas
- A small container for collecting discarded paper
Keeping a container beside you prevents little pieces of paper from spreading across your sewing room. They have a remarkable ability to travel.
How can you prevent stitches from pulling out?
Shorter stitches are the most important preparation. They perforate the paper more thoroughly and hold the fabric securely.
You can also prevent loose stitches by:
- Supporting each seam with your finger as you tear
- Pulling the paper back against itself
- Removing small pieces gradually
- Avoiding forceful upward pulling
- Using tweezers rather than tugging at paper caught in corners
Do you need to remove every tiny piece of paper?
Remove as much paper as you reasonably can, particularly from beneath seam allowances and around bulky intersections. However, a few tiny fibres or fragments caught in the stitching are unlikely to cause a problem.
Trying to extract every speck can do more harm than good if it causes you to pull at the stitches or distort the block.

Can you leave foundation paper inside a quilt?
Ordinary printer paper and most foundation papers are designed to be removed. Leaving them inside can make the quilt feel stiff and may create lumps as the paper breaks down during washing.
Special wash-away, dissolvable or leave-in foundations are different. Follow the manufacturer’s instructions when using these products.
Which paper is easiest to remove?
Lightweight foundation paper is usually easier to tear away than standard printer paper. It also reduces bulk when several seams meet.
Regular printer paper can still be used successfully, particularly for beginners who want to practise with supplies they already have. A shorter stitch length and firmly creasing the stitched lines will help with removal.
Whatever paper you choose, make sure your pattern is printed at 100 per cent or Actual Size and check the test square before sewing.
LINK: Paper for Foundation Paper Piecing blog post
Common paper-removal mistakes
Pulling the paper upwards
This places unnecessary pressure on the stitches. Fold the paper and tear it back against itself instead.
Removing the paper too early
The foundation keeps the section stable and accurate. Complete and trim the section before removing it.
Using a long stitch length
Long stitches do not perforate the paper sufficiently, making it more difficult to tear away.
Tugging at tiny pieces
Use tweezers and remove small fragments gradually. Do not pull hard against the seam.
Using too much water
Excess moisture can cause printer ink to run or fabric to distort. If you dampen the paper, use only a small amount and test first.
Frequently asked questions
Should I remove foundation paper before joining blocks?
That is completely up to you. You can leave the paper attached while joining blocks if it helps you match points and keep the blocks stable. Remove it once the relevant seams have been sewn. Alternatively, remove the paper and then assemble the quilt. Choose the method that gives you the best accuracy without creating unnecessary bulk.
What if the paper is caught in the seam allowance?
Use fine tweezers to lift it away. If necessary, lightly dampen the paper along the stitched line with a water from a spray bottle.
Why is my foundation paper difficult to remove?
The most common causes are paper that is too heavy, a stitch length that is too long or glue that has been applied too heavily. Creasing the paper and using a shorter stitch length on your next block should help.
Can I wash the paper out?
Only if you are using a foundation product specifically described as water-soluble or wash-away. Ordinary printer paper and standard foundation paper should be torn away.
Does removing the paper stretch the block?
It can if the paper is pulled forcefully or the block is handled roughly. Support the seams, work gradually and press the block with some starch or similar product, rather than sliding the iron across it.
A little preparation makes paper removal easier
Removing foundation paper is much simpler when you plan for it from the beginning. Use lightweight paper where possible, shorten your stitch length and secure the outside of the completed block. When it is time to remove the paper, crease each line firmly and support the stitches as you gently tear it away.
Take your time with small pieces, but do not worry about a few tiny paper fibres remaining beneath the stitches. Once the block has been pressed, it is ready to become part of a quilt, cushion, bag, mug rug or another handmade project.
LINK: Browse Thimbles and Needles foundation paper piecing patterns
LINK: Try a free Thimbles and Needles foundation paper piecing pattern