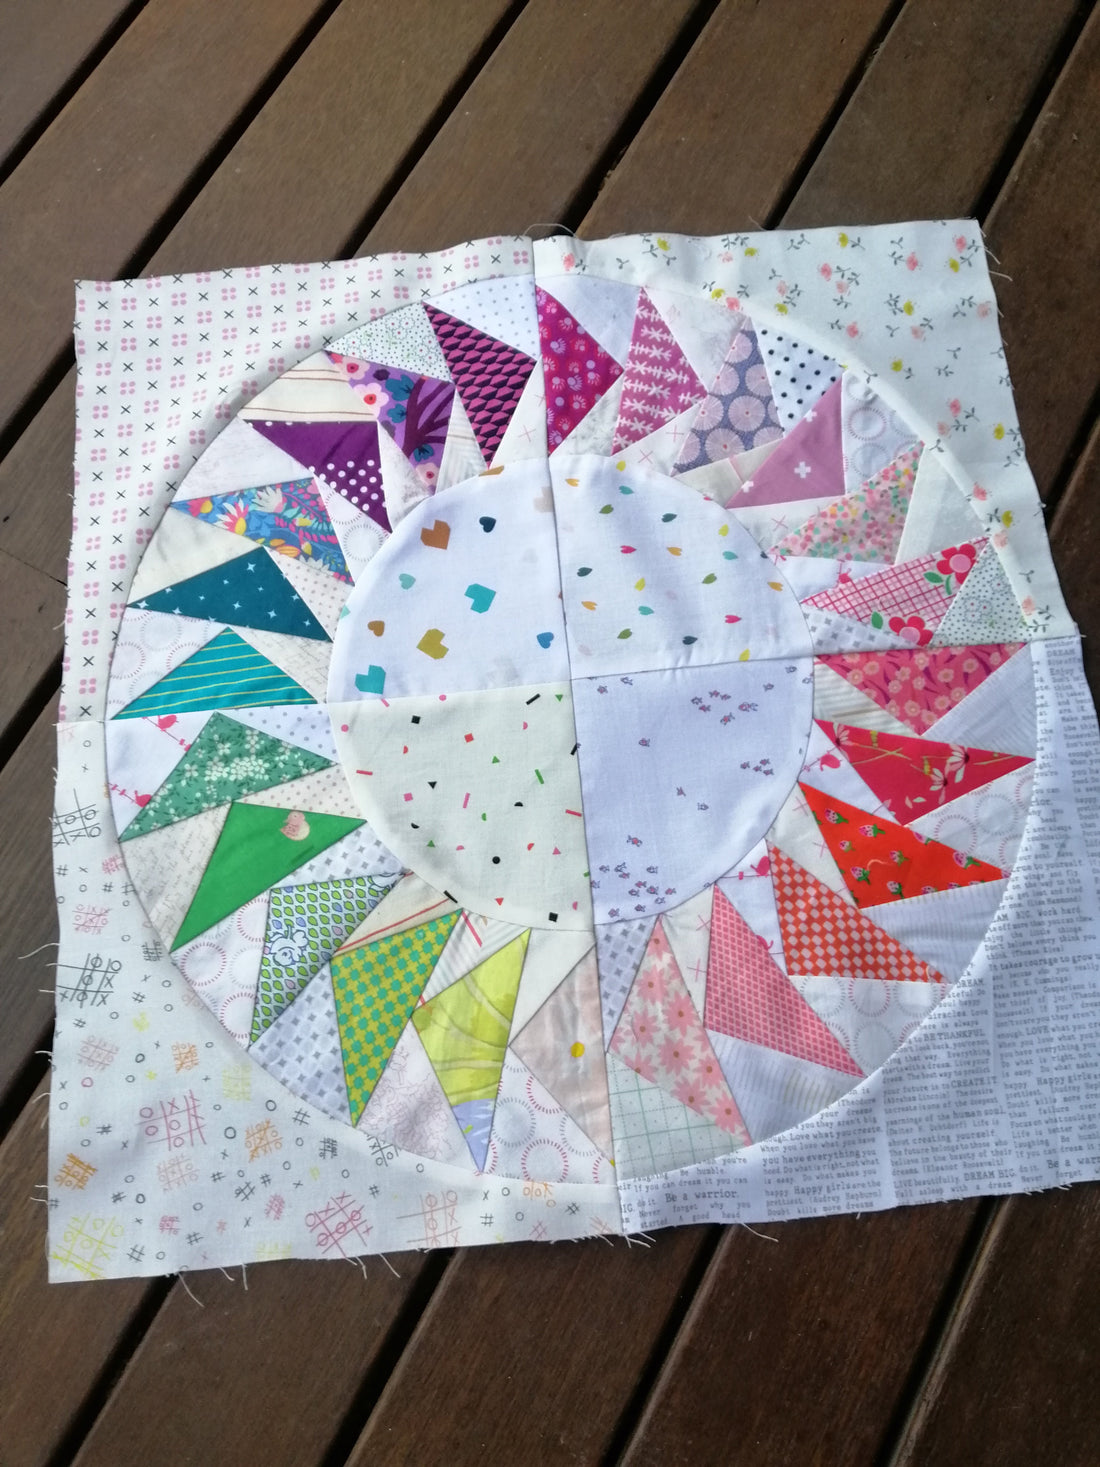
Making the Flying Geese Circle Block
The Flying Geese Circle block is a striking design that combines movement, symmetry, and colour to create a quilt block that really pops. In this post, I’ll share tips for choosing fabrics, plus practical advice for tracing out templates using two different methods. Whether you’re going bold with high-contrast colors or subtle with low-volume prints, these tips will help you get clean, accurate results and enjoy the process of bringing this dynamic block to life.
The Flying Geese Circle Block can be purchased here.

Fabrics
I went with a rainbow arrangement but I think scrappy would be fabulous as well.
I rummaged through my scrap bag to pick out the colours of the rainbow ROYGBIV - Red, orange, yellow, green, blue, indigo and violet.

Larger pieces for backgrounds. A fat quarter is sufficient for either the 12 and 18 inch blocks. I used low volume but a darker background or solid would also look great!

Scraps for the flying geese background pieces. Ensure there is high contrast to your flying geese fabrics.

Print out the foundation paper piecing (FPP) templates. Cut them out just outside of the seam allowance so that you can trim along the line after sewing.

Create the background and centre templates
This can be done in 2 ways -
- By making a template with template plastic or thick card OR
- Using freezer paper
If you are making the 18 inch block, the background prints over 2 pages.
Match the marked line and tape or glue together.


Method 1 - Make your templates using template plastic or thick card
Using paper glue, stick your printed template onto either template plastic (available from quilt stores) or thick card eg. cereal box.
Cut out your template accurately, including seam allowance. Use general purpose scissors for this to avoid dulling your sharp sewing scissors.
Position your template on the fabric. Place straight edges along the straight grains to reduce stretch and curved edges on the bias to maximise stretch.
Using a mechanical pencil or sharp pencil, trace around your template onto the fabric. Cut out along the pencil line.

Method 2 - Using freezer paper
Freezer paper is not available in supermarkets in Australia however they can be found in quilt stores. They have a shiny surface which becomes sticky when heat is applied. The other side feels like paper.
First, trace the printed template onto the rough side of the freezer paper and cut out the template on the cutting line.

Place the freezer paper, shiny side down against the fabric and press using medium to high heat onto the fabric you wish to use. The freezer paper will stick to the fabric and prevent movement when you are cutting out your fabric. Ensure straight edges of the templates are placed on the straight grain and curved edges are on the bias (at an angle to selvedge) to maximise stretch when curve piecing.
Cut out your fabric along the template outline. The freezer paper can be peeled off and reused to cut more background fabrics.

Sew your arcs and join two arcs to create quarter arcs.

Curved Piecing
Attach inner and outer pieces to the quarter units.
Sew the quarter units together like a four patch and you are done!
The 18 inch block would make a cute cushion or mini quilt for your sewing room.
You may also like to read about
Hand applique circle techniques
Handquilting with perle 8 thread
Pros and Cons of Foundation Paper Piecing
Top 20 Tips for Foundation Paper Piecing
Foundation Paper Pieced String Blocks
Foundation Paper Pieced Quilt Borders
The Flying Geese Circle Block can be purchased here.