Foundation Paper Piecing: Frequently Asked Questions
If you’ve ever admired a quilt block with perfect points or intricate shapes and wondered how they did that, there’s a good chance it was made with foundation paper piecing or FPP for short.
This clever quilting method lets you sew fabric directly onto paper for precision results, even with tiny pieces or complex angles. Whether you’re new to the technique or just looking to refine your skills, this FAQ covers all the common questions quilters have about foundation paper piecing.

What Is Foundation Paper Piecing?
Foundation paper piecing (FPP) is a machine-sewing technique where you stitch fabric pieces onto a printed paper pattern. The lines on the paper act as your sewing guide, helping you achieve perfect points and accurate shapes every time.
It’s an especially popular method for scrappy quilts and modern quilt blocks where accuracy really matters.
How Is FPP Different from English Paper Piecing?
While both techniques use paper, they’re quite different.
- English Paper Piecing (EPP) is hand-sewn and uses paper templates to fold fabric shapes around.
- Foundation Paper Piecing is done by machine, sewing through the paper foundation that’s later removed.
FPP is faster and ideal for detailed geometric designs, while EPP is slower and more meditative.

What Do I Need to Start Foundation Paper Piecing?
You don’t need much to begin:
- A printed FPP pattern (like those available on this website!)
- Lightweight paper/copy paper
- Fabric scraps — FPP is perfect for using them up!
- A sewing machine
- An add-a-quarter ruler for trimming (optional)
- A light source or window to help position fabric pieces (optional)
What Paper Should I Use for Foundation Paper Piecing?
Look for thin, easy-to-tear paper that won’t jam your printer. Many quilters like specialty foundation paper, but standard copy paper (70–80 gsm) works fine too. The key is that it’s lightweight enough to tear away easily after sewing. I personally use regular copy paper, often printing on the back of already used copy paper.
How Do I Print Foundation Paper Piecing Patterns Correctly?
Always print at 100% scale or “Actual Size.” Don’t use “Fit to Page,” or your blocks will come out the wrong size. Most printable FPP patterns include a test square so you can double-check your settings.
Why is my pattern not printing to the correct size?
If you have printed at 100% or 'Actual Size' and the one inch test box is still not the correct size, the problem is most likely the printer driver. I have found from experience that if the printer does the not have it's own printer driver installed on the computer, it may not print to size. For example, the default Windows print driver is installed but your printer is a Brother machine. In this case, you need to install the Brother print driver. You will have to Google how to do that for your specific printer.
When Do You Remove the Paper?
Removing the papers until after you join the blocks prevents your block from becoming stretched out of shape from handling. For small projects like pincushions or mini quilts, you can remove the paper once your block is done.
Can I Use Fabric Scraps for FPP?
Yes! Foundation paper piecing is perfect for using up fabric scraps. Because you sew small pieces one section at a time, it’s easy to create colourful, scrappy designs — no waste, no stress.
Do you need to backstitch when foundation paper piecing?
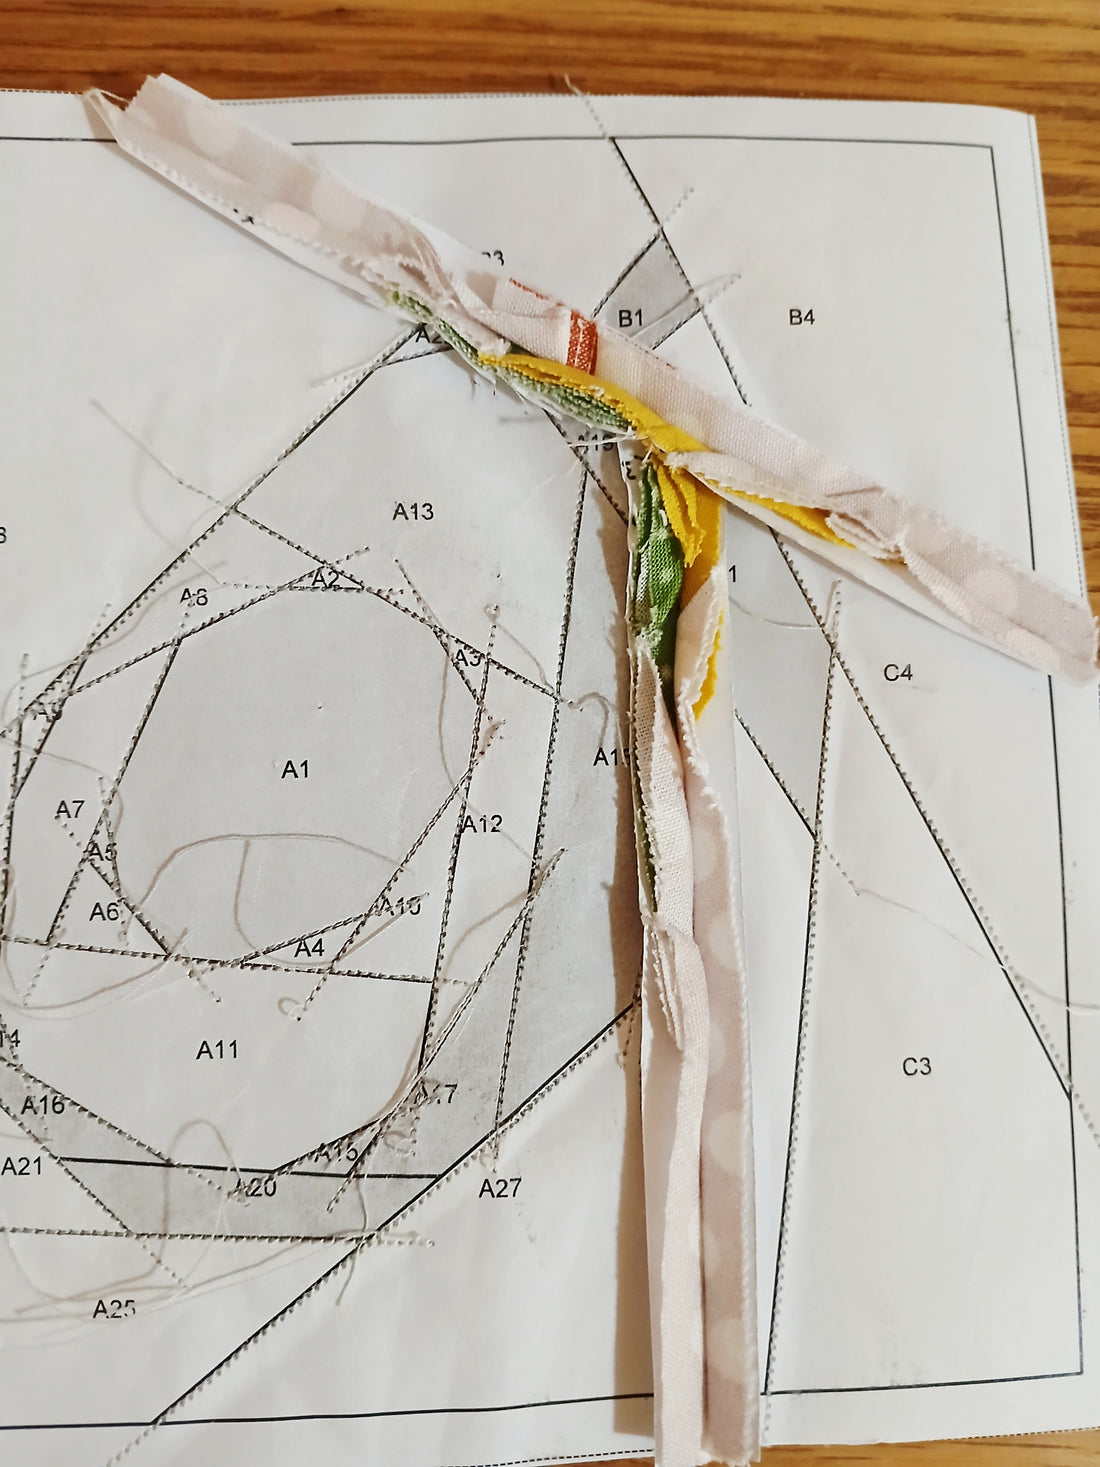
In foundation paper piecing (FPP), backstitching is generally not necessary. Your seams are held securely by sewing over the seam lines, just like in regular piecing. Using a short stitch length (around 1.3–1.5 mm) ensures the stitches perforate the paper for easy removal while keeping everything strong. Backstitching can make the paper harder to tear away, especially in small or intricate sections. By relying on the foundation paper and proper stitch length, you can achieve precise, stable seams without adding extra bulk, even at complex intersections. I don't backstitch and I've never had a block come undone when foundation paper piecing.
Noticed in the image below, I start and stop my stitching before the seam line and sew beyond the seam line. The intersections of the seams, secures the stitching.

How Do I Avoid Bulky Seams?
Trim your seam allowances carefully and press after each seam. Pressing seams open when joining sections (instead of to one side) can help your block lie flatter, especially when it has lots of intersecting seams. Also consider reducing fabric overlap in areas where several sections meet, you may like to trim the seam allowances to 1/8 inch.
Is Foundation Paper Piecing Good for Beginners?
Definitely. Start with simple patterns that have fewer sections, and you’ll quickly get into the rhythm of sew → flip → trim → repeat. Once you get the hang of it, more complex designs won’t feel intimidating at all. Once you have mastered the technique, you can make any block your heart desires!
How Do I Join FPP Blocks Together?
Keep the paper on while sewing blocks together. It stabilises the seams and helps you align everything accurately. Use a shorter stitch length and press seams flat before removing the paper.
Can I Reuse Foundation Paper Piecing Patterns?
You can reprint digital patterns as often as you like, but once a paper foundation has been sewn through, it can’t be reused.
What Stitch Length Works Best?
A short stitch length about 1.3 to 1.5 mm — works best. It secures your seams and makes the paper easier to tear away later.
How Do I Remove the Paper Without Damaging the Stitches?
Fold the paper gently along the seam lines before tearing, and use tweezers to pull out small bits in tight spots.
Tweezers can be a real time-saver when removing paper from your foundation paper piecing blocks, especially in those tiny corners and seams. After you’ve completed your stitching, gently tear away the larger sections of paper by hand first. Then use a pair of fine-point tweezers to grab any small bits left in tight spots or under stitches. Work slowly and pull the paper along the seam line rather than against it to avoid loosening your stitches. Good lighting helps you spot leftover pieces, and a quick once-over with tweezers at the end ensures your block is clean and smooth, ready to press and join without any hidden paper lumps.
Can I foundation paper piece without paper?
Some quilters use freezer paper or washable stabilisers, but traditional foundation paper gives the crispest results. It’s reliable, easy, and affordable.
Using freezer paper for foundation paper piecing (FPP) has several benefits, especially for beginners and scrappy quilters. One major advantage is that freezer paper is reusable, so you can use the same template for multiple blocks and no paper removal required. Its lightweight, flexible nature also makes it easy to fold and handle, while the lightly waxed side can be temporarily ironed onto fabric, helping small pieces stay in place when cutting. Freezer paper is ideal for tracing custom designs or creating hand-drawn FPP patterns without needing to print, making it a versatile option for quilters experimenting with new blocks or shapes.
While freezer paper can be used for foundation paper piecing, it comes with some important drawbacks for beginners. Because it’s thinner and less stiff than standard FPP paper, it doesn’t hold sharp points or complex block shapes as well. Small pieces are especially tricky to sew, as the flexible paper can shift or bunch under your needle, making precise seams harder to achieve. Freezer paper also doesn’t feed well through printers so may harder to print on.
Freezer paper works best with larger pieces and when using the same template several times. Copy paper works best where there are small intricate pieces involved, it gives much more accurate results. For beginners, I recommend starting with copy paper.
Practise your foundation paper piecing with these free downloads:

Crazy Patchwork free foundation paper piecing block
Half Hearted free Foundation Paper Piecing block
Letters Home free Foundation Paper Piecing block
What Can I Make with Foundation Paper Piecing Blocks?
The options are endless! You can make:
- Pincushions
- Mini quilts
- Table runners
- Tote bags
- Pillow covers
- Or combine themed blocks into a full quilt
Explore the growing collection of foundation paper piecing patterns at Thimbles and Needles, perfect for scrappy, modern quilters who love playful, detailed designs.
Final Thoughts
Foundation paper piecing might look complicated, but once you try it, you’ll see how simple, and satisfying, it really is. From precision points to creative block shapes, it’s a technique every quilter should have in their toolkit.
You may also like to read
Top 20 Tips for Foundation Paper Piecing
Pros and Cons of Foundation paper piecing
Foundation Paper Pieced Borders
